As you may remember, I started this series of posts because Angela Ackerman was going to Africa this summer, and wanted some hints on landscape photography. Well, she's back now. Check out her blog, The Bookshelf Muse, for some spectacular pictures she took while there.
<<<3
Unfortunately, you won’t be able to achieve landscape photos to rival those in magazines . . . unless you have a SLR camera. The camera allows you to change lenses. Many of these pictures require a wide-angle lens, which gives you a wider view of the scene. Think wide screen TV verses full screen.
The second difference is the ability to use filters with SLR cameras. And more specifically, graduated neutral density filters. They enable you to take photos when there is a large difference between the light (sky) and dark (land) in terms of lighting. The filters even out the difference between the two so that the details are visible in the dark areas, and the sky doesn’t look washed out (overexposed). Even users of digital SLR (DSLR) cameras need to use them. There’s only so much you can fix in Photoshop.
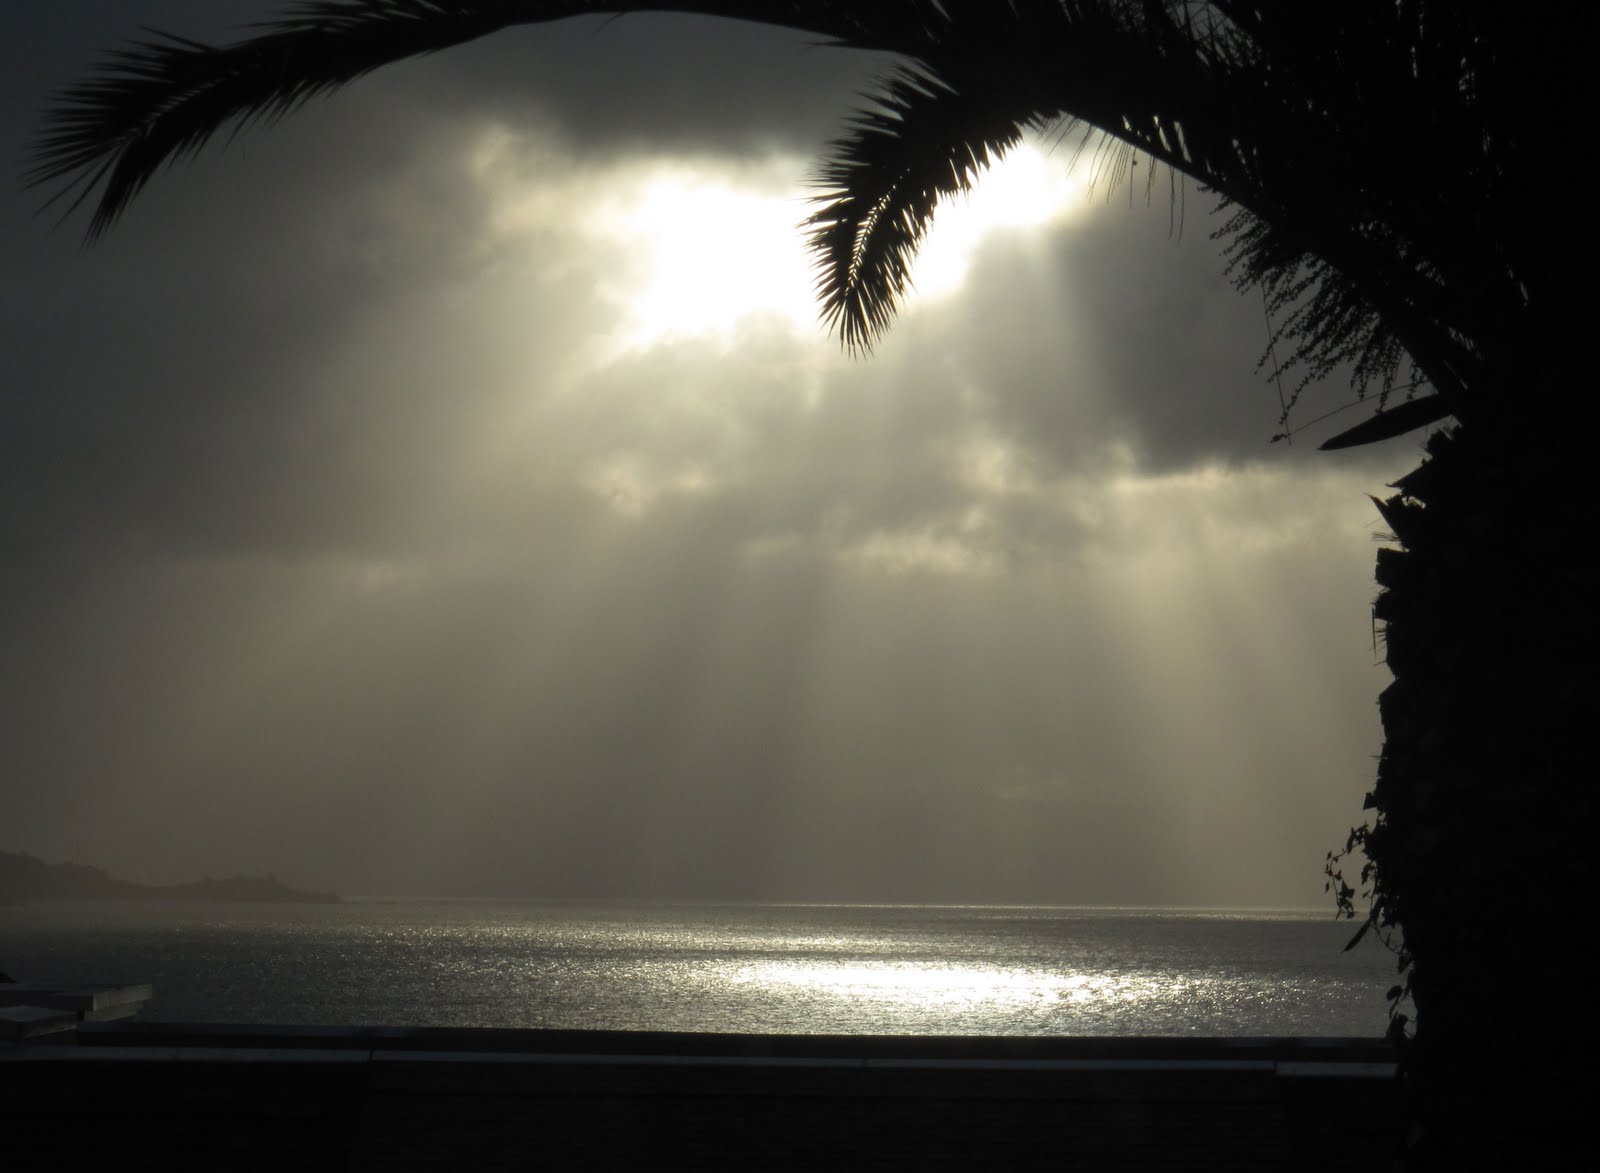
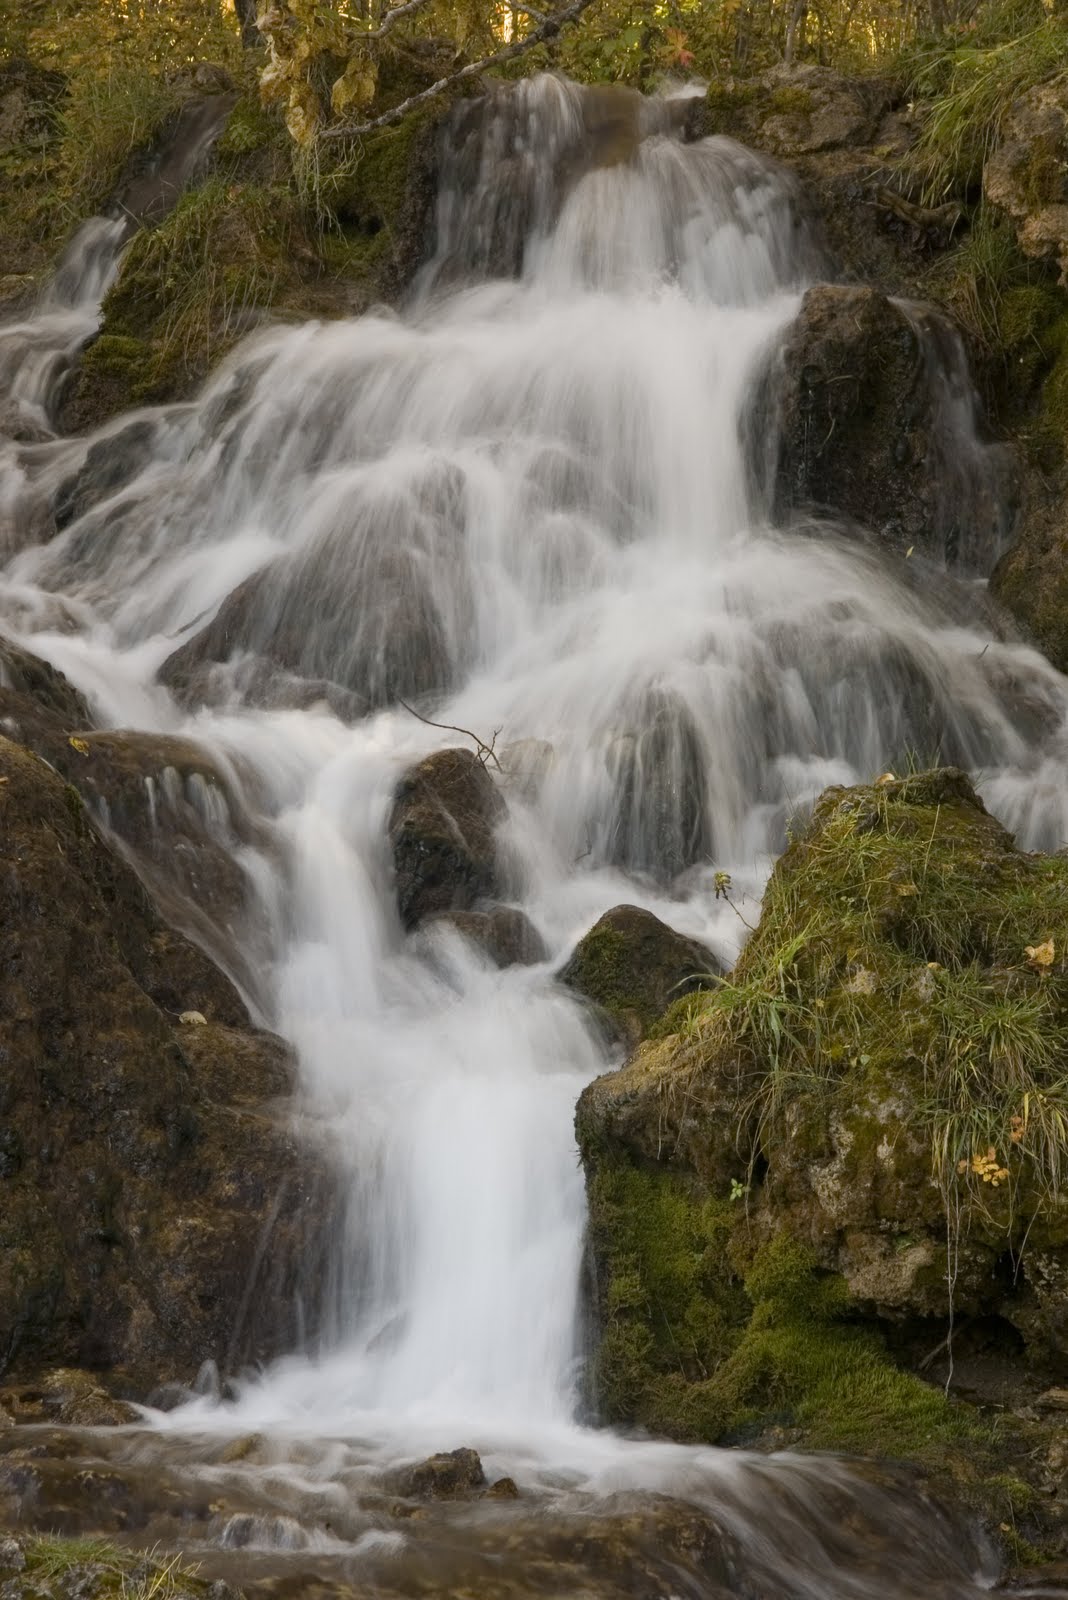
So what can you do if you only have a point & shoot camera? Try to ensure the majority of your photo has similar lightning. If the sky’s the most important part of the shoot, then make sure that’s what takes up most of the frame. Just be aware that, like in the above photo, non-lit items will look silhouetted against the sky. If the land is the most important part, then make sure that it takes up the majority of the frame (as shown in the picture below).
Also, examine the DIRECTION AND QUALITY OF LIGHT. It will affect details such as texture of the land, etc.
For example:
• The light is softer early and late in the day.
• Depending on the time (and where the sun is), the light can give a bluish or pinkish tinge to the picture.
• Bright sun produces shadows, and the location of the sun in the sky will affect the length of the shadow.
• An overcast sky will reduce or eliminate shadows.
• An overcast sky or open shade (being in a shady area on a cloudless day) will result in a bluish tinge. Sometimes you want the change in color to the scene, and sometimes you don’t. Professional photographers used warming filters to counteract the affect . . . or they tweak the photo with a photo editing program (e.g. Photoshop).
• A partially cloudy sky can cause some cool effects.
• The best direction for the lighting is known as side lighting. That’s when the sun shines on the scene at an angle from the side. The worst direction of lighting is when the sun is overhead. The light is harsh, creates deep shadows, and tends to wipe out the color of the landscape.
• If you can, take pictures at different times of the day, and see what looks best. Just remember, how you see things isn’t necessarily how the camera will see it. And if you’re shooting with a point & shoot camera, you might not have the ability to control the exposure like you would with a SLR camera. However, some point & shoot camera (like mine) give you some flexibility, so you can alter the aperture (opening of the lens) and shutter speed.
<<<3
Since next Monday is Labor Day, part 2 of this series will be posted next Tuesday, instead.