Purple Prose:
photography tips
Finding Magic in Doggie Doo (Aka Your Writing)

On the Dark Side: Adding Dimension

Adding Dimension

Removing the Clutter

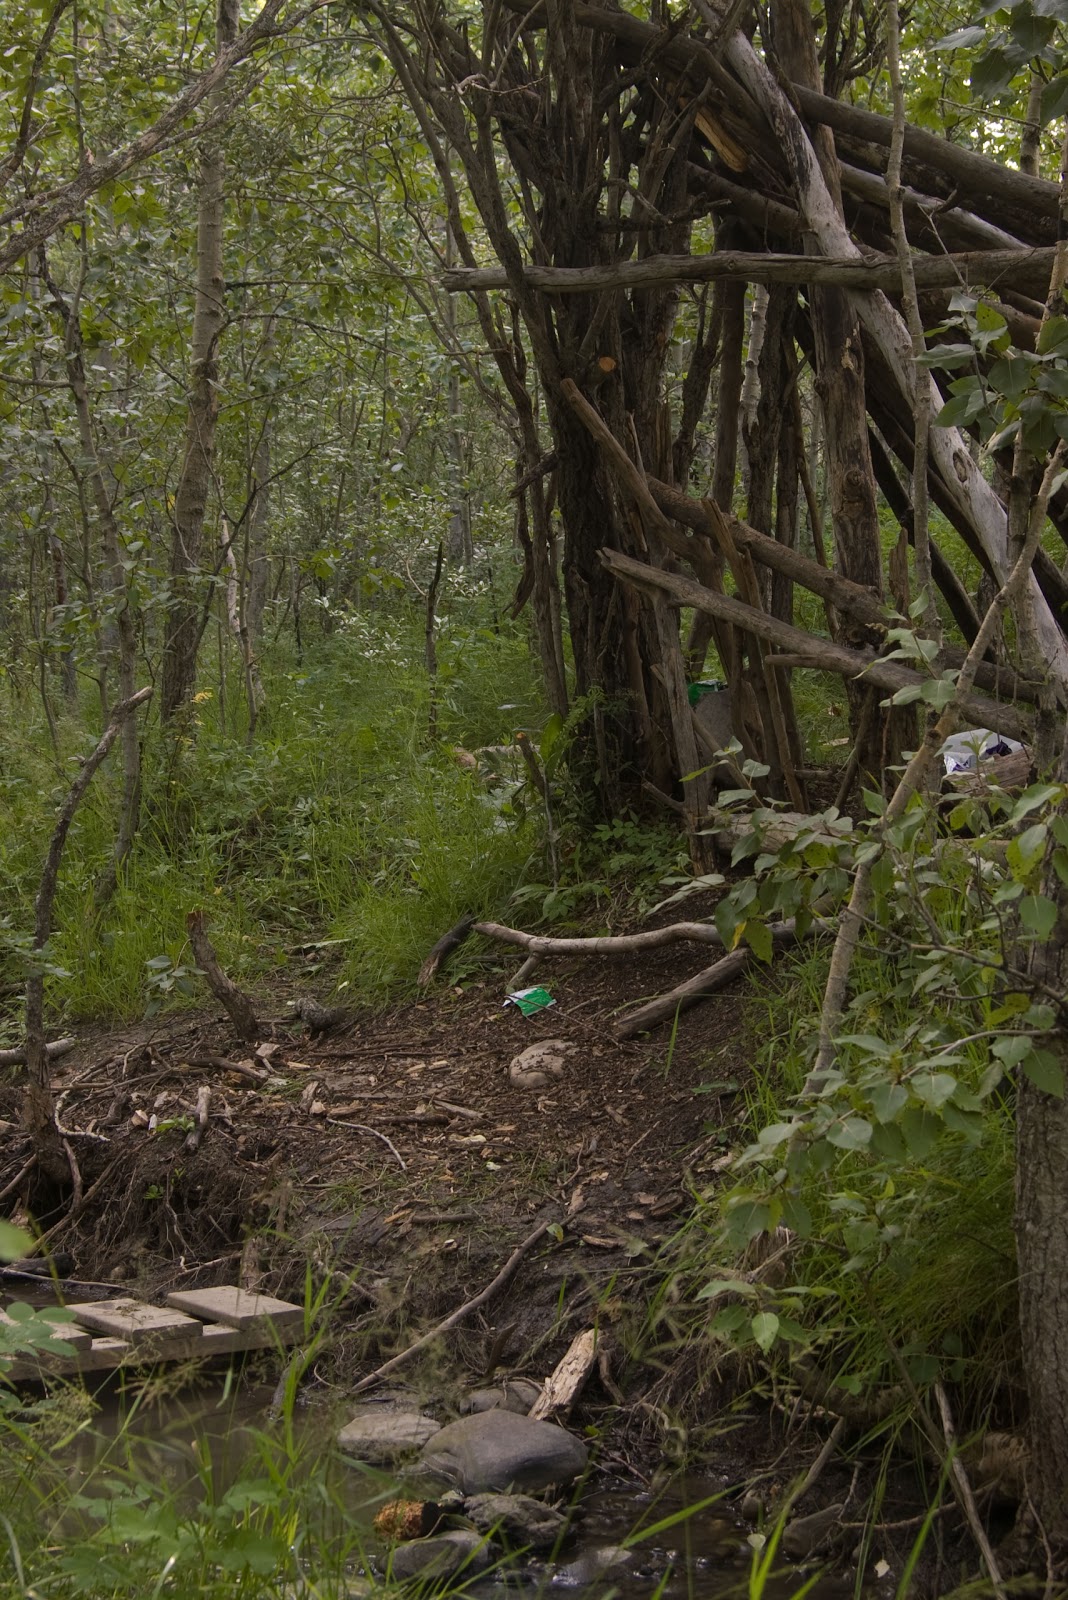
Make Like a Boy Scout

Tip #98: Make Your Camera Your BFF
Tip # 97: Color Your World

What Anne Geddes Taught Me . . .

Tip # 96: Capture the Rare Moment

Tip # 95: Seize the Moment?

Tip # 94: Changing The View

Tip # 93: Unifying with Theme

Tip # 92: Practice Makes Better
Tip # 91: It’s the Little Things

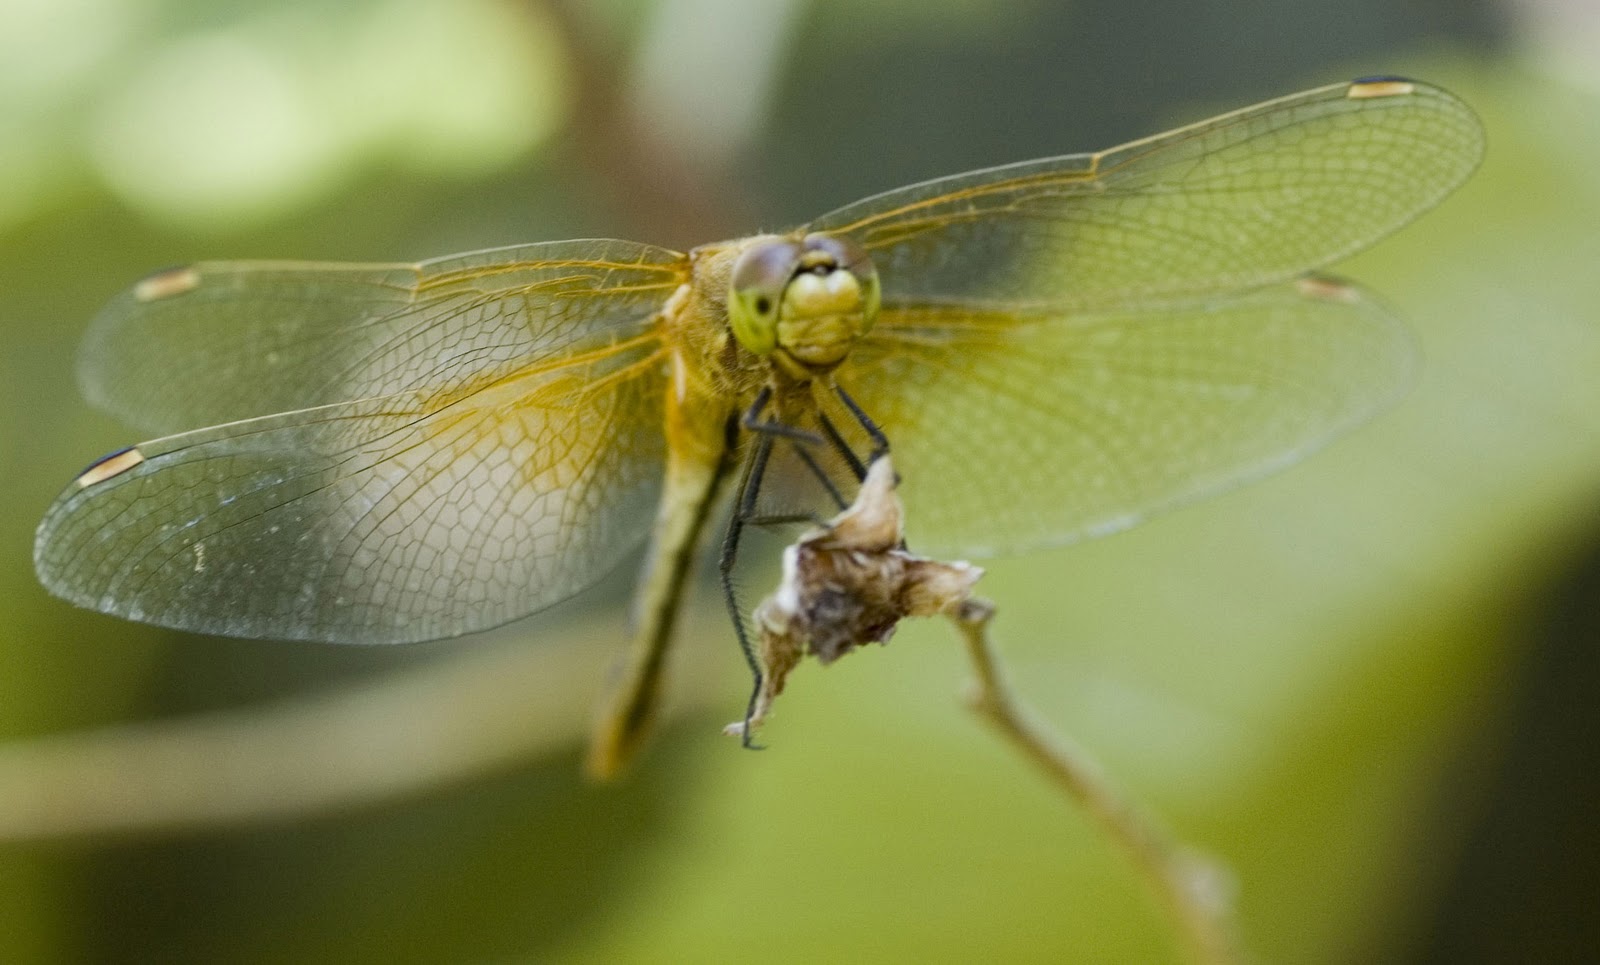
Tip # 90: Up Close and Personal

Tip # 89: Hey There!
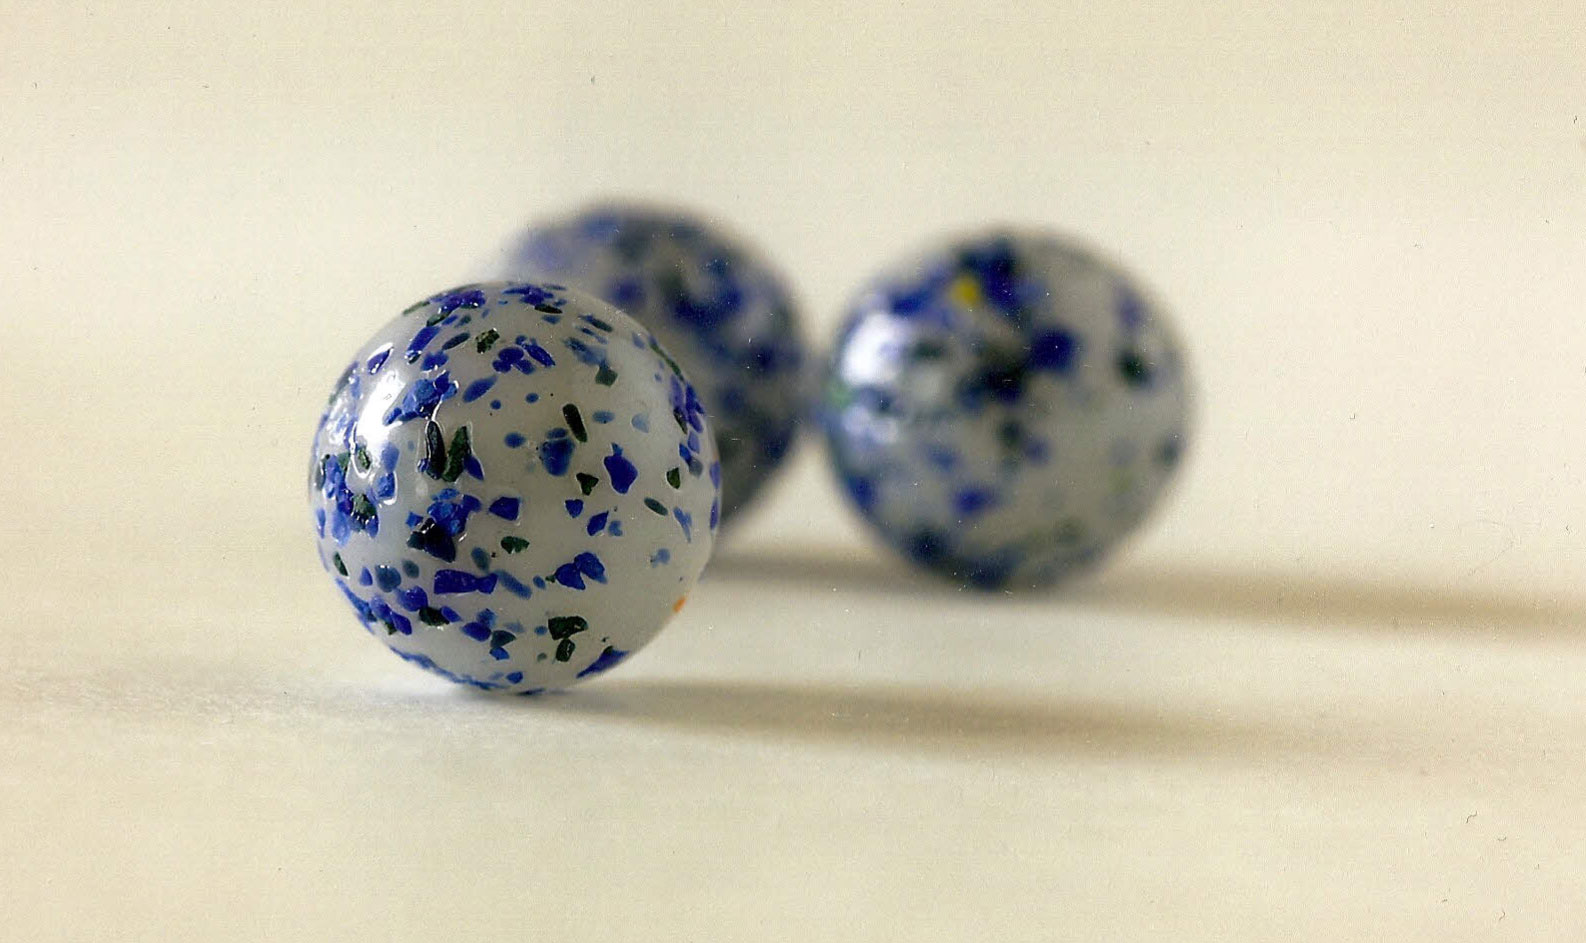
Tip # 88: Playing with Contrasts

Tip # 87: What Makes Your Friend Special?

Tip # 86: Author Photos?

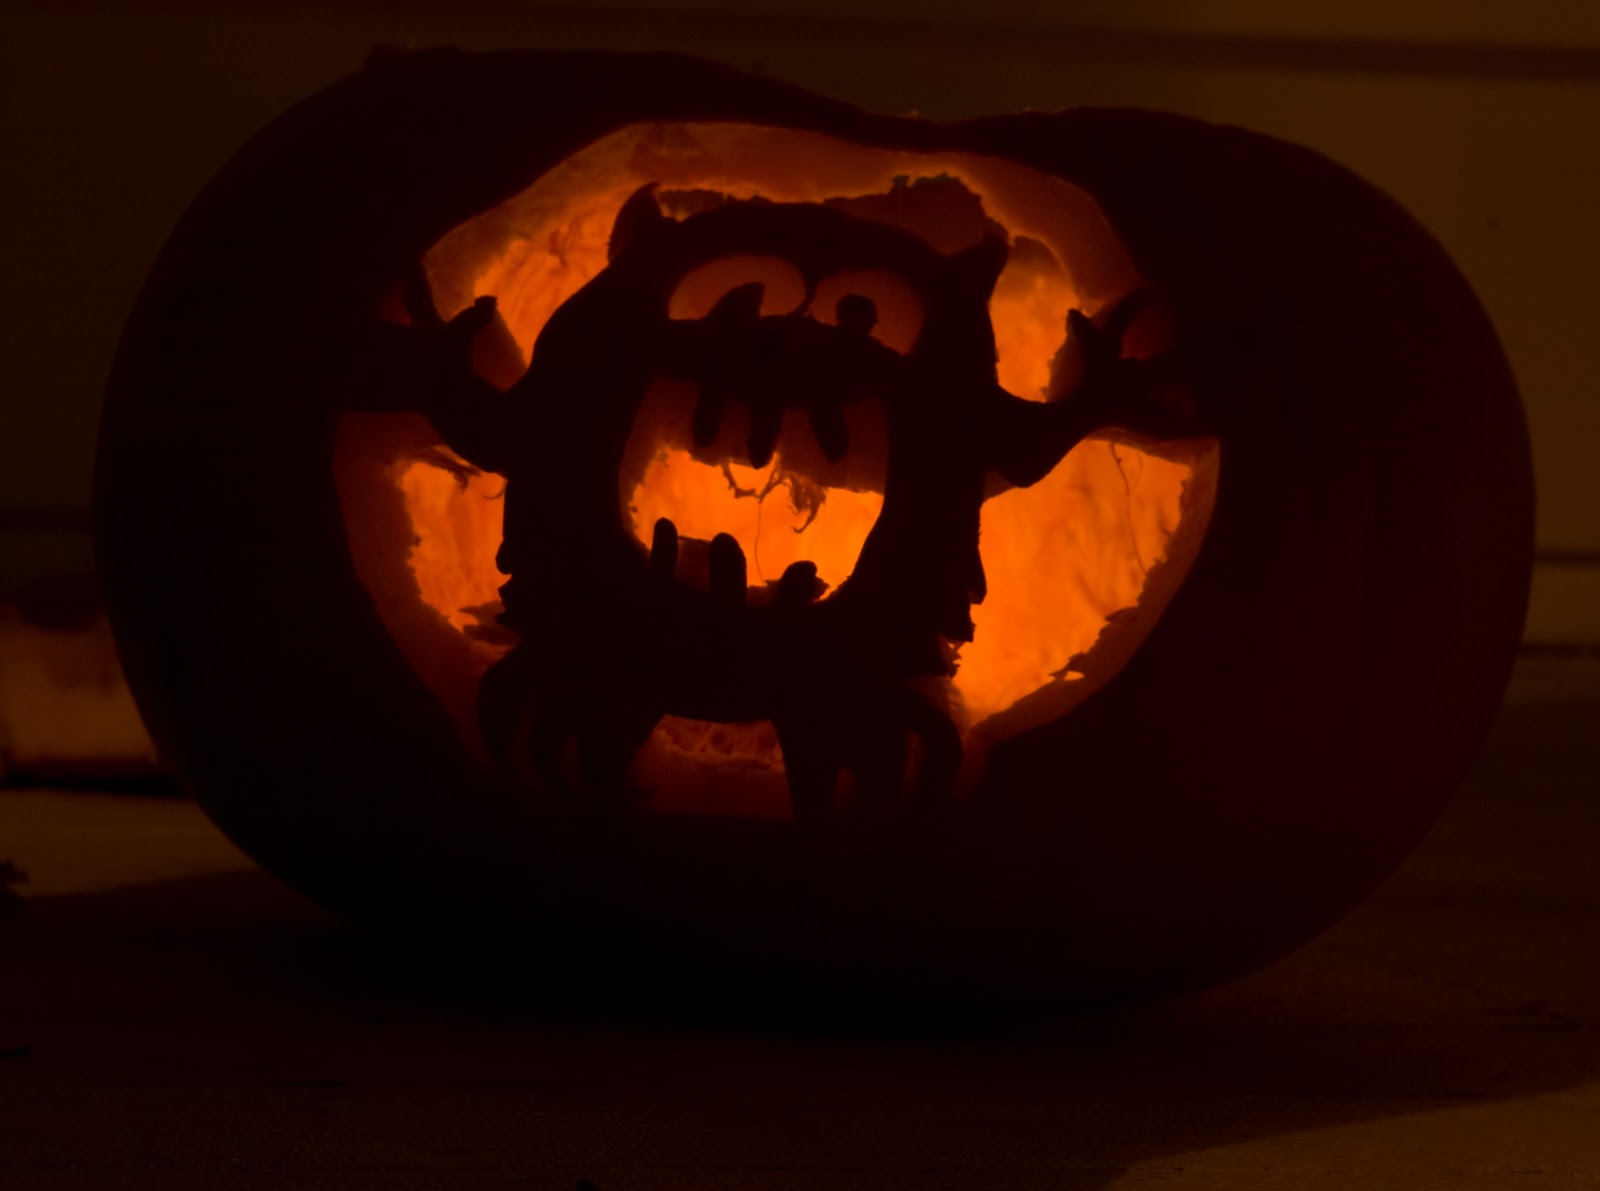
Tip # 85: Shooting Your Pumpkin